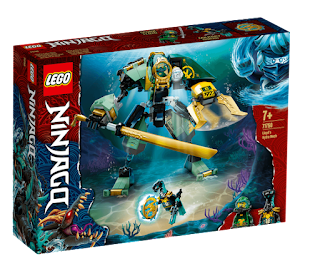
Honestly, I never planned to buy this Ninjago set 71750 at all. Well, firstly... the big chunky piece that comes with the set (the ship bow) was a turn-off. The price is decent even at RRP, but the presence of such a big piece could only mean some tradeoffs in getting lesser useful parts from the set.
And then... there's the lack of symmetry in the Hydro Mech that is very prominent compared to other official LEGO mechs. So I foresee I won't be getting decent pairings of hinges and ball joints for my Transformer needs.
Anyway, I bought the set eventually when it's gone at 20% off retail late last year! Why? Ninjago was not represented adequately by me last year (2021). I was meant to pick a few Ninjago sets released back then to build some Transformers from. Better late than never I guess!
ABOUT THIS PROJECT
I was glad to find out that many of the hinges ball joints come in pairs from set above. I ended up using almost all of them except one ball joint in this creation.
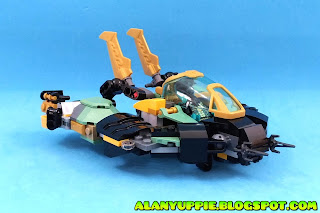
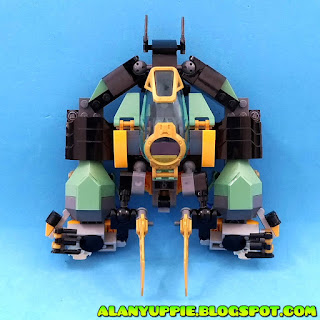
This creation reminded me of a BumbleSea v1 , the Transformer I made from LEGO set 31090: Underwater Mech. They shared very similar transformation styles, and have windshields on their chest too! And oh yeah.. both are underwater submarines as well!
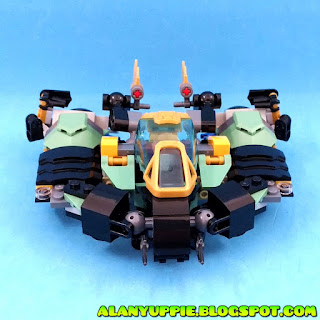
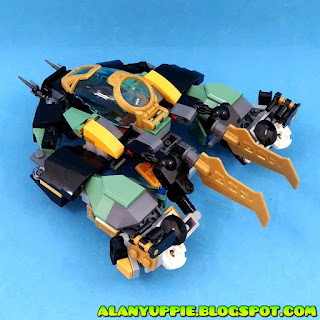
SUBMARINE MODE
I think spent the most time refining this creation to ensure robot legs tab together well to the main body when in vehicle mode.
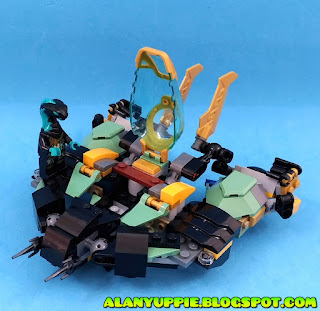
WITH A PILOT
There's a reason why I let the antagonist pilot the vehicle meant for the hero of the set.
I once placed Lloyd inside this sub and his lower body kept detaching from his upper body when I tried to pluck him out, due to the rubbery backpack that reduced the clutch strength.
Even though the connection of the hinged windshield to the vehicle is simple and direct, it took me many redesigns to enhance such connection to prevent it from being wobbly, or accidental detachment when trying to open it.
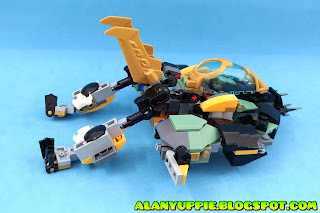
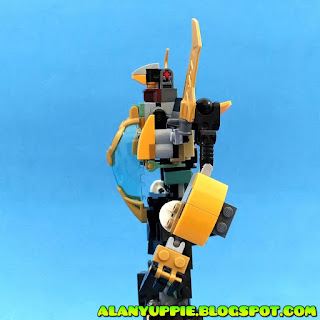
TRANSFORM!
Aligning the arms to the side of the vehicle is quite challenging , since each one is double-ball-jointed.
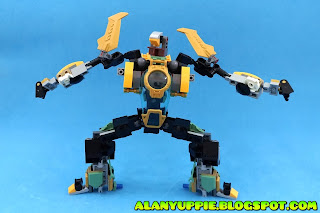
ROBOT MODE
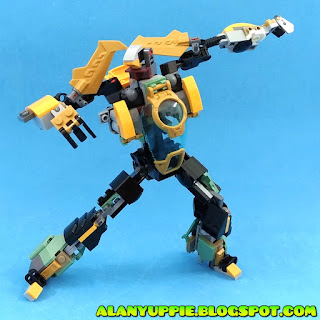
I started my project by building a (then) single jointed shoulder, and it led me nowhere. Then I gave this project a rest for a day or two. The final design of double jointed arms allowed much more flexibility when converting to his alternate mode, as you can from earlier transformation photos.
The light gray protrusion on his flank helped to secure his legs in vehicle mode.
Yeah I know. Having one flipper-like finger is very weird. But it's better than having just 2 fingers on each hand.
The white round plates on his forearms were once used to reinforce the leg frames. But their clutch strength weren't up to par. So this job was taken over by few pieces of 1x2 plates instead.
The dark gray plate extension on the forearms were designed in such a way / not so appealing manner, but it helps to align the arms to the back of the vehicle mode.
Due to the choice of ball joints, I was unable to pad up the hollow shoulders with conventional LEGO parts. Glad these shoulder-mounted golden blades can obscure this shortcoming.
ACTION POSES
Even though both legs looked the same from the outside, their inner frame were reinforced with slighty different LEGO parts that came in only 1 piece each from set 71750.
BUILDING INSTRUCTIONS
Building Instructions in the form of a video tutorial , is located at the bottom of this page.
IMPORTANT REMINDER: Spare pieces from set 71750 were needed to complete this creation.
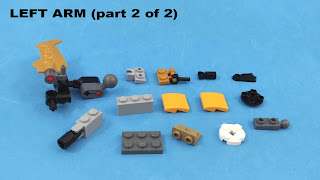
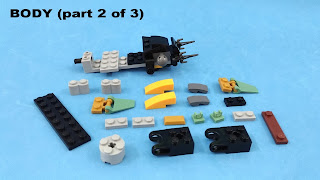
Before you get started, please sort your parts according to the photos below.
Arms
Left Leg
Right Leg
Body
Thank you for following my video tutorial!
- More free building instructions (mostly from official LEGO sets)
- Free building instructions with Ninjago sets























No comments:
Post a Comment