


This is the most logical "outcome" of LEGO set 31152
PROLOGUE
Last year (2024), Transformers:One arrived ... the first animated Transformers movie to be shown in cinemas after many decades. And I commemorated this by building the 2 main characters , Optimus Prime (Orion Pax) and Megatron (D16) using official LEGO sers:
\
ABOUT LEGO SET 31152
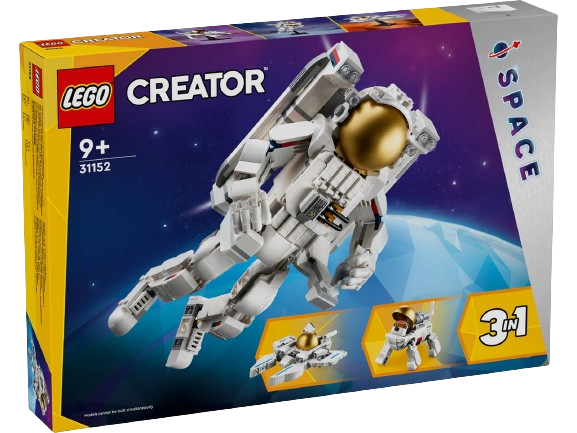
LEGO Creator 31152 was released last year too, and I've been using this set to build many Transformers, and below is the more recent one prior to project Shockwave.
ABOUT THIS PROJECT (SHOCKWAVE)
In TF:One , many of fan favorites G1 Transformers character appeared and some having prominent roles too! And Shockwave was one of them. And recently, concept arts of these characters appeared online for fans to enjoy and ogle at. I noticed that Shockwave has a pretty simple transformation, achievable using LEGO sets. So I took the chance to build him.


Halfway through the project, I discovered that I have a problem with kibble management. There's 2 long wings that must be tucked to the robot's back, and then there's 2 shorter ones that must go somewhere. Eventually things worked out better than expected!

In set 31152, There are extra 2 black tile pieces (8-stud length) that could be applied to the smaller wings to substitute the 6-stud black pieces above. I've chosen the latter because they're more secure and don't easily pop out during transformation.


Sculpting the front of the jet mode is actually quite challening and satisfying, especially applying the details like that mono-optic , which is made possible using 2 pieces of half-circle tiles.

TRANSFORM!


Initially the gold c-clip (red circle) was connected to the wing but unhooking it from the body was a struggle. So I let it be a hinge instead, and pegged to the wing using conventional LEGO stud method.


ROBOT MODE

The smaller wings ended up becoming his bulky shoulders (something I had problem conjuring). Now that's what I called "2 birds one stone".

The most challenging part of this project is definitely sculpting his chest, a very iconic feature of Shockwave aside from his head.

90% of this project was done in a week but I kept feeling something is off with his head. So I put the project aside for a week or so. About few days before I finalized this creation.. I managed to apply antenna on his head.


Initially the wings can be folded down in robot mode, via hinge plates, for a neater back. Then I cancelled this design , and applied the hinge plates to improve the leg engineering instead where they're needed the most.


His arm mounted cannon was the last component to be built. And it easily connects to the arm without modifications (which I subconscious designed to cater for this imminent feature). However.... it took me a bit of head-cracking to finally able to connect this cannon "between his thighs" aka his space cruiser mode.


Yes... I did tried hard to make the cannon barrels to be longer but that's as far as I can get!
MORE ACTION POSES


VIDEO TUTORIAL
Note that the robot head and cannon tutorial will not be shown in the video. They're pretty easy to built simply by spending a few minutes of staring at his photos. Let's say this is a special challenge from me to you guys out there to improve your skills.
Alternatively, you can purchase the complete building instructions (including head and cannon) in PDFdocument format via my rebrickable link below:

No comments:
Post a Comment