


I was pretty excited when set 76194 was released many months ago, after discovering it's not just a typical LEGO mech, but it has a second official speedster mode, from the look of it.
For LEGO mech (and dragon) sets, I don't usually scrutinize the parts type inside before making my purchases. I prefer the element of surprise (no pun intended) when unboxing them to build the official design. Its feels great to discover whatever cool parts that I can use for my future LEGO Transformers projects, during the building process of an official set.

THE GOOD
Both hands are symmetrical in shape (a rarity in official LEGO mechs). That's one less problem I need to tackle when building a Transformer from it.
Wheels / tires with individual axles! I've been waiting for LEGO sets with wheels that allows me to build land based , articulated Transformers from. I shall milk this set dry!
THE BAD
I was appalled to discover that the conversion to become the vehicle speedster mode requires reassembly of main components from the mech, and some of them need to be discarded* along the way.
*Perhaps this is a homage to first Iron Man movie where the crudely assembled armor/suit fell apart after the escape from the cave prison. I would imagine this Saakarian armor also would do the same, jettisoning parts upon escape and reassembled itself into a speedster upon landing on smooth ground.
I expected generous amount of mini /mixel ball joints to come with the set. I was wrong. There's none.
THE UGLY
Those mech legs, ughh.... !
ABOUT THIS PROJECT
As my first offering using set 76194.... obviously the best start would be improving upon the official speedster mode by having it directly transforms into a robot with no partsforming in between.


The official mech is not symmetrical when it comes to parts color on each side. And I tried to maintain the color symmetry for my creation here as best as I could.

Due to low kerb, it's not gonna be handling Planet Sakaar's rough, junky terrain very well. What if it's transported to a racing track on Earth instead?


MAY I GIVE YOU A RIDE?


WHAT-IF.... THE WINDSHIELD IS SWAPPED?

That reminds me of an old cartoon from the 1980s (or earlier) featuring cute talking cars with facial features on their windshield.


TRANSFORM!


Opps.. sorry, human! You should've move out of the way.
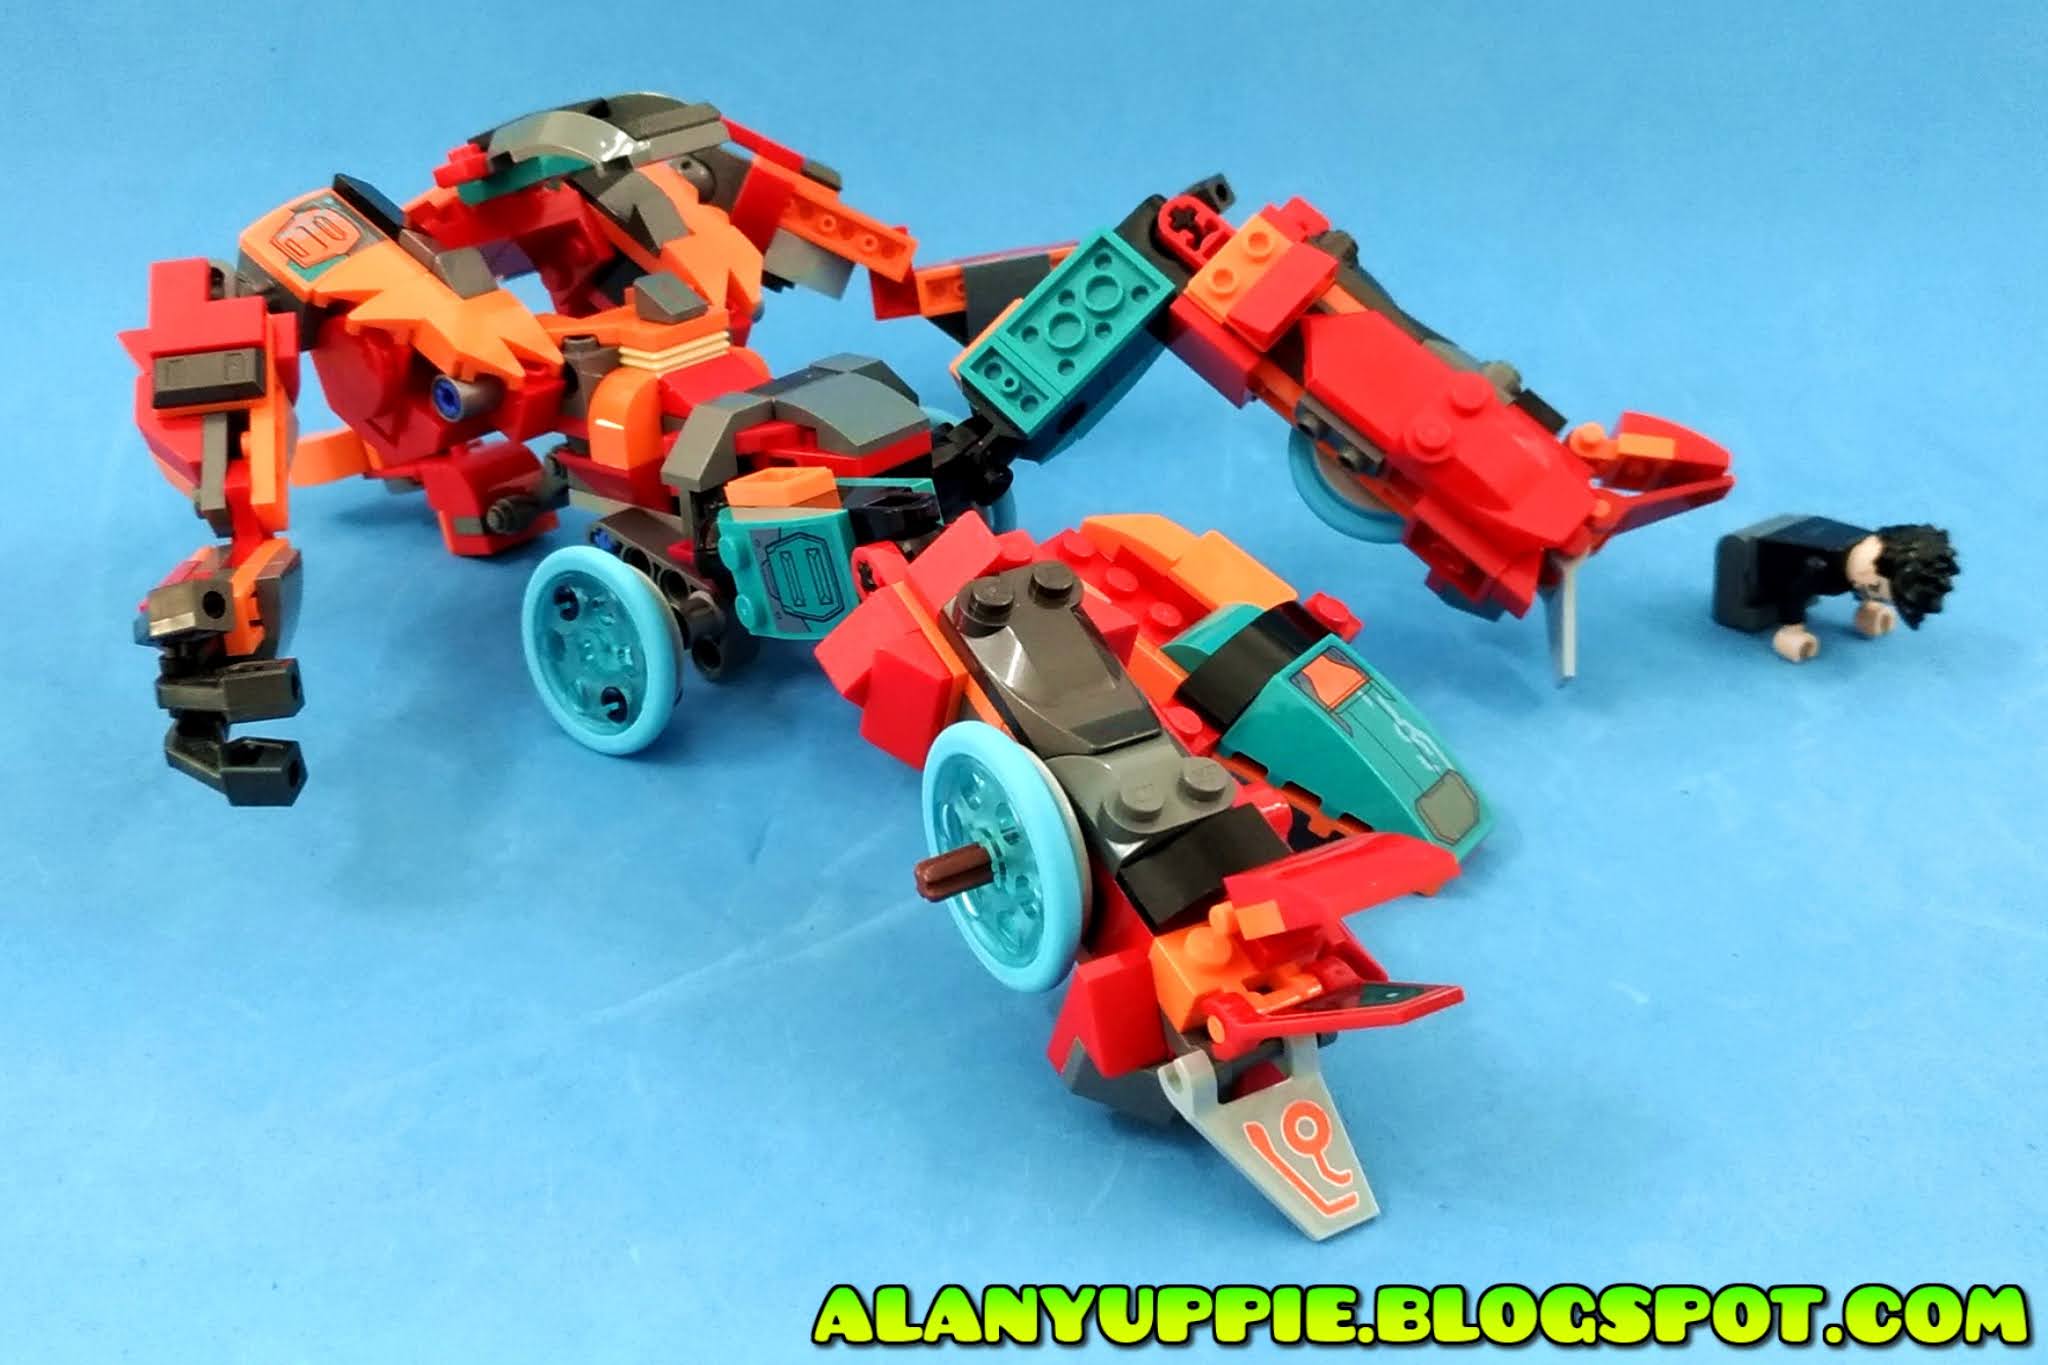


The driver compartment folded and secured to the back via a pseudo-stud connection.
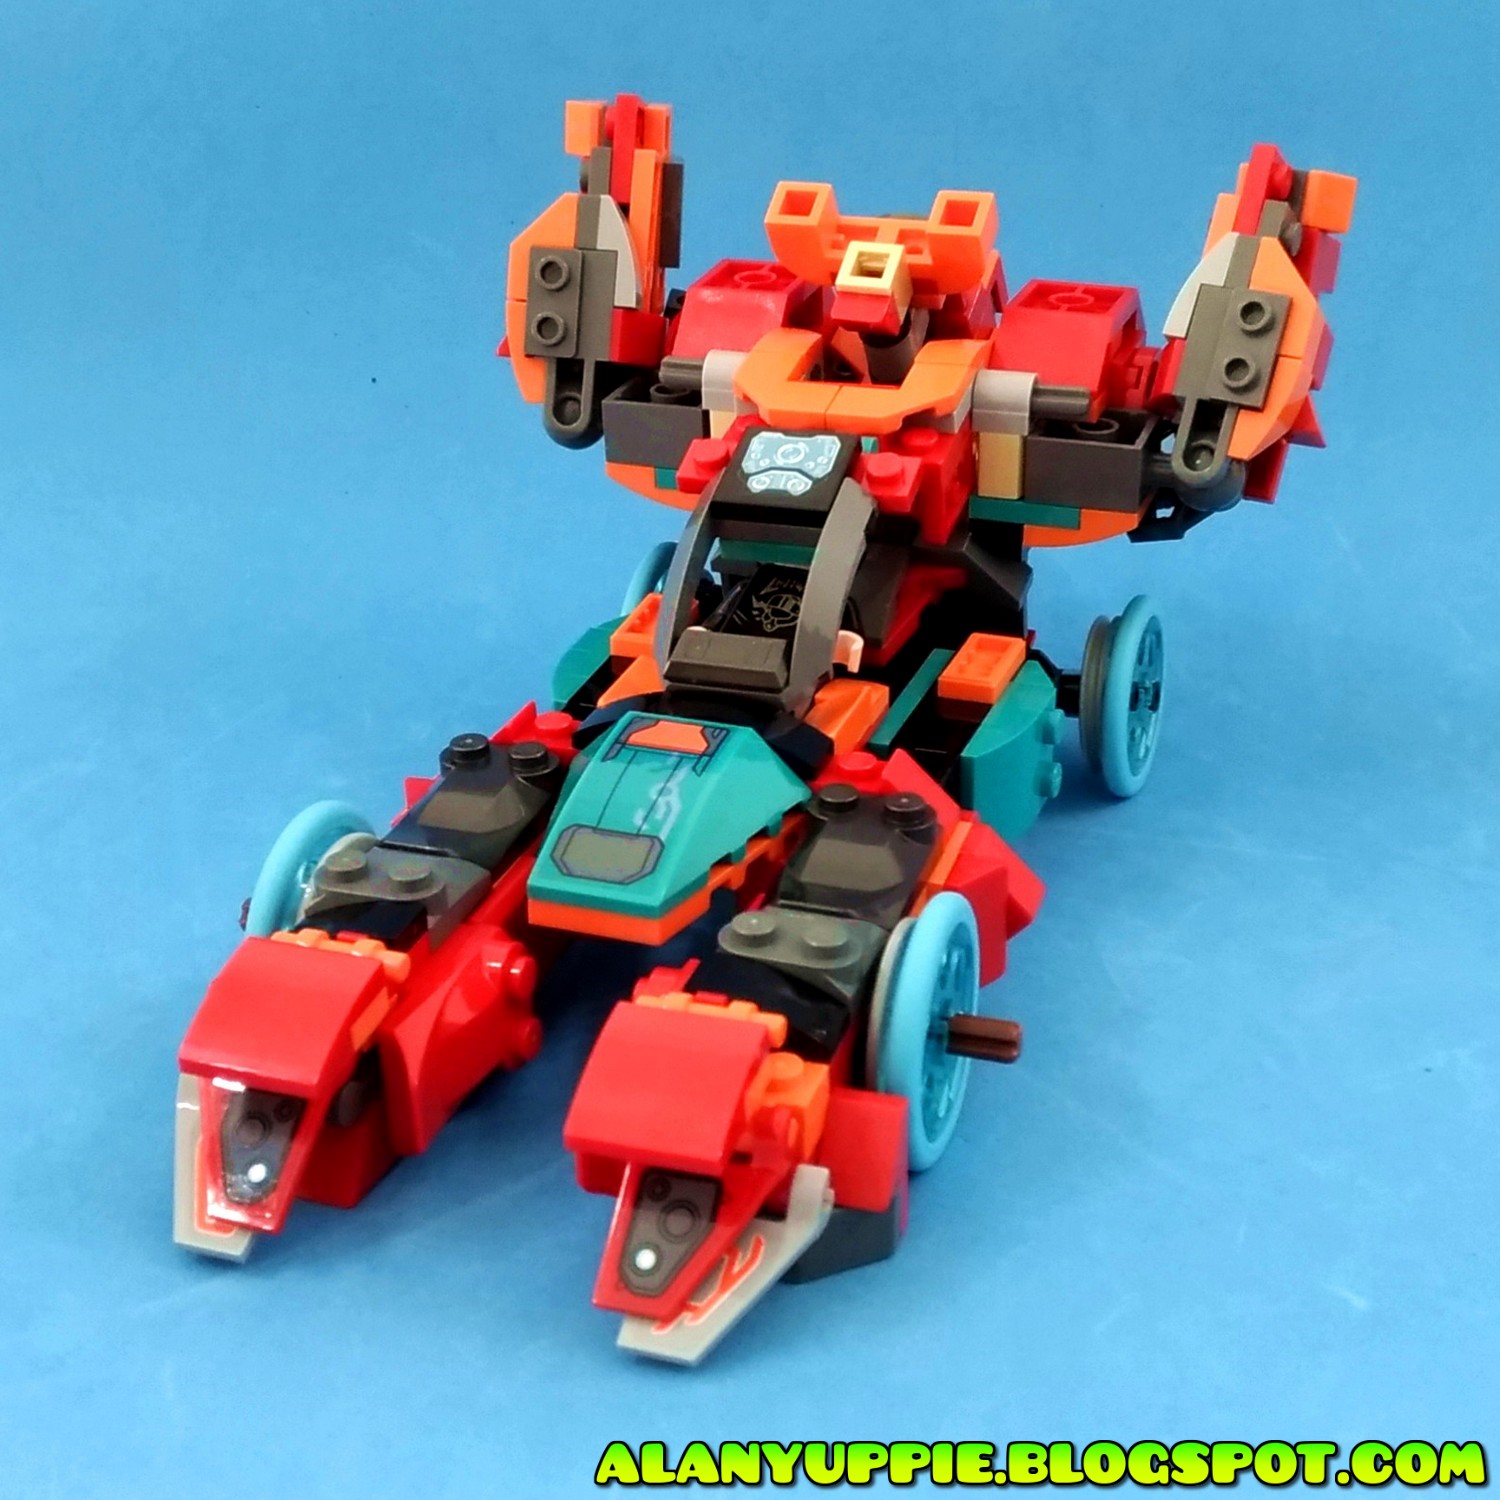
ROBOT MODE

Do the head reminds you of one particular Japanese super robot from the 1970s ?


I love the abundance of smooth, curved and bracket parts provided by set 76194 to make this creation possible. But I was severely deprived of classic LEGO bricks. So simple design needs (like stacking a brick on top of a plate) , turned into complicated workarounds. This is very apparent in the leg and shoulder design.

The excess amount of orange wedge tiles were made to good use by enhancing the chest design.


The fins at the bottom of the feet are the ones holding the weight of the robot mode. The red curvy slope merely are additional aesthetics to make the feet look bulkier and nicer.


WHAT-IF TONY STARK DECIDED TO RECLAIM HIS MECH?
Even sentient robots aren't immune to Tony's ingenuity to override the system and take control.


For Tony to fit snugly inside the robot chest, robot shoulders must be raised up, offering more clearance, and windshield can be closed adequately (but not completely).


BUILDING INSTRUCTIONS
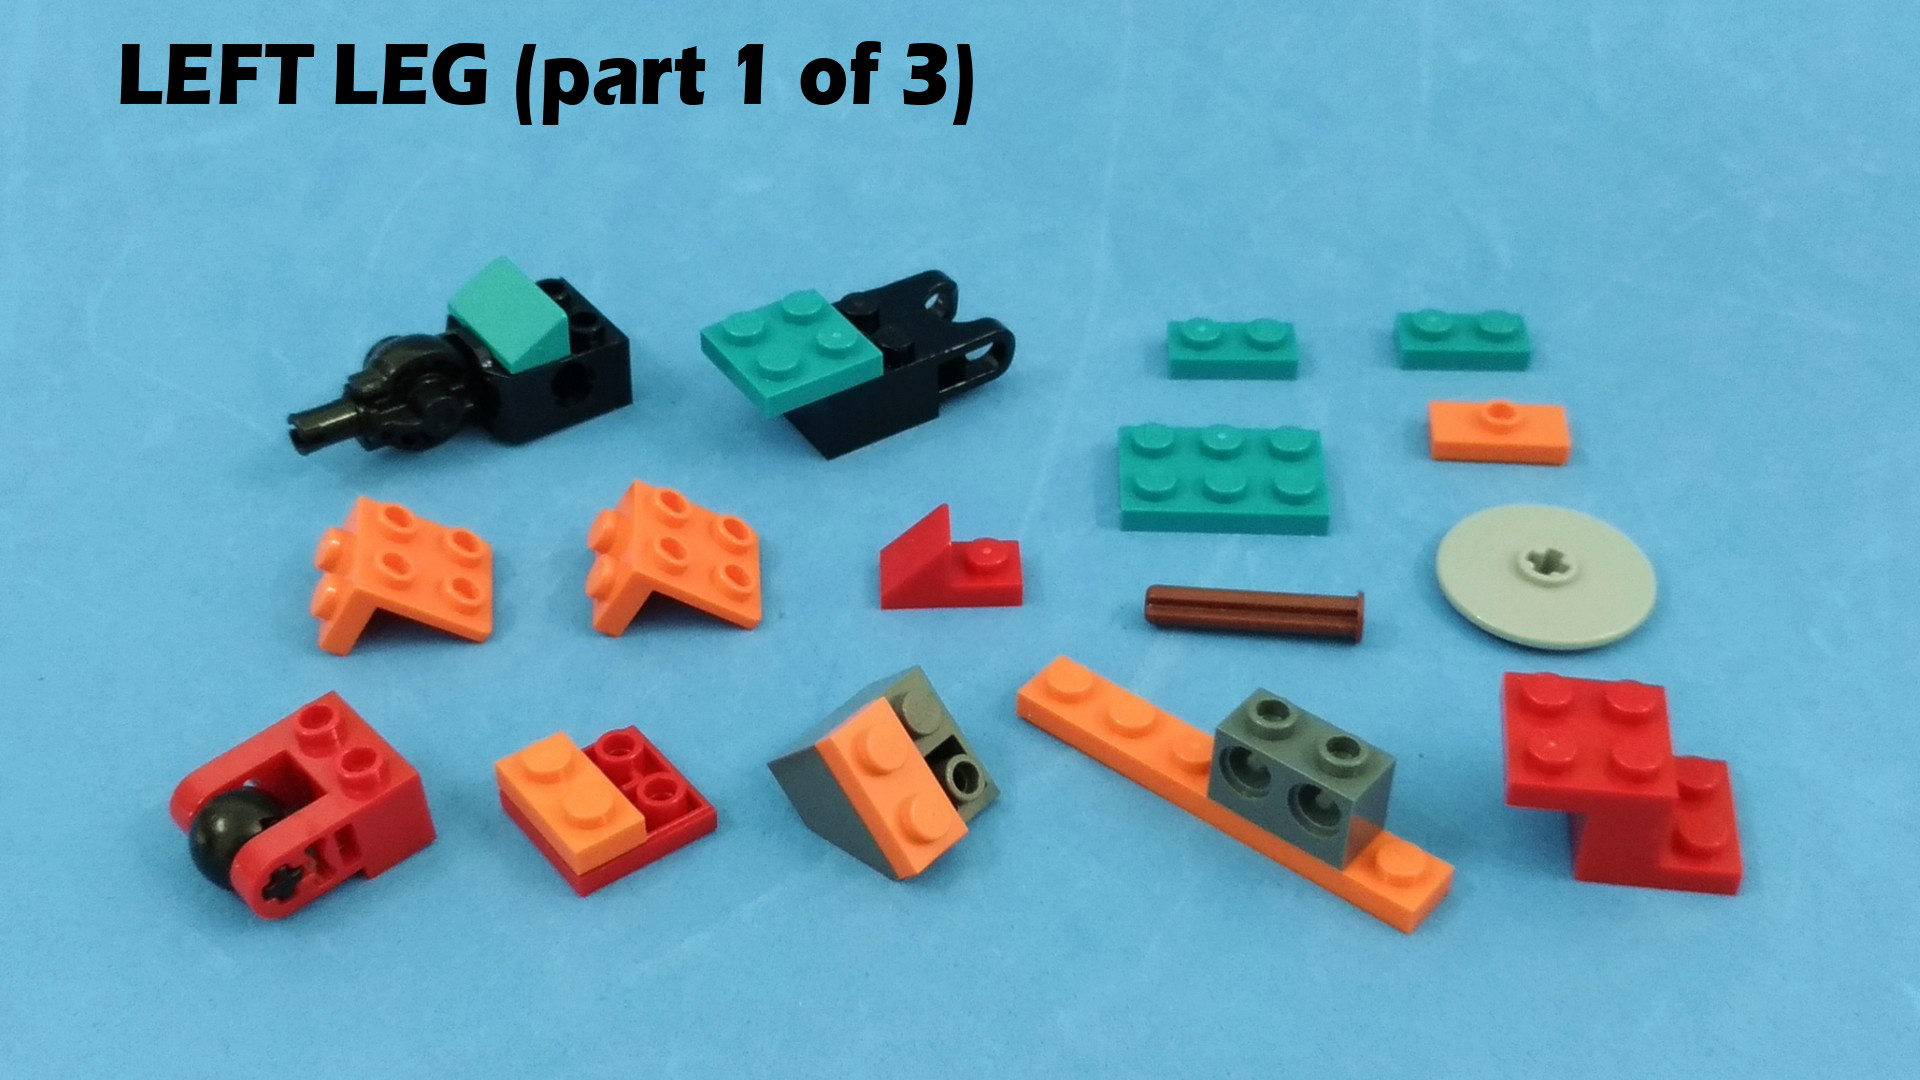
Building Instructions in the form of a video tutorial , is located at the bottom of this page. Before you get started, please sort your parts according to the photos below.
Important Tips!
This creation uses up all the small 1x1 plates (including spares) from set 76194. If you happened to be missing one or few of such parts (we all do!) , try substitute them with aqua colored 1x2 plates from the robot thighs instead.
Arms


Left Leg


Right Leg


Cockpit

Body


Body (flanks)


VIDEO TUTORIAL
Click here if video above is not showing.
Thank you for following my video tutorial!
No comments:
Post a Comment