This project is a commission piece requested by a fellow Transformers fan. Even though I am a TF fan myself, I preferred to build LEGO Transformers inspired from G1 characters from the 80's series, and Japanese Transformers from the early 90's. And that's about it. However, I seldom turn down a good challenge although I'm not really a fan of Beast Wars series.
Before I get started , I googled photos of Beast Wars Dinobot and checked whether I have enough brown or similar colored LEGO parts to pull this off....
Official BW Dinobot toy
...so I did! Next I took a good hard look at the toy photo above (and bunch of other screenshots of BW Dinobot) and visualized how my improved version should be. Distinct features like raptor head on chest, tail as weapon, striped legs would be replicated as close as possible.
One of the advantages of building LEGO Transformers with beast mode is that the robot arms literally form themselves without complex transformation ... like this Dinobot (or G1 Grimlock) where the dino legs become the robot arms easily.. so I think.
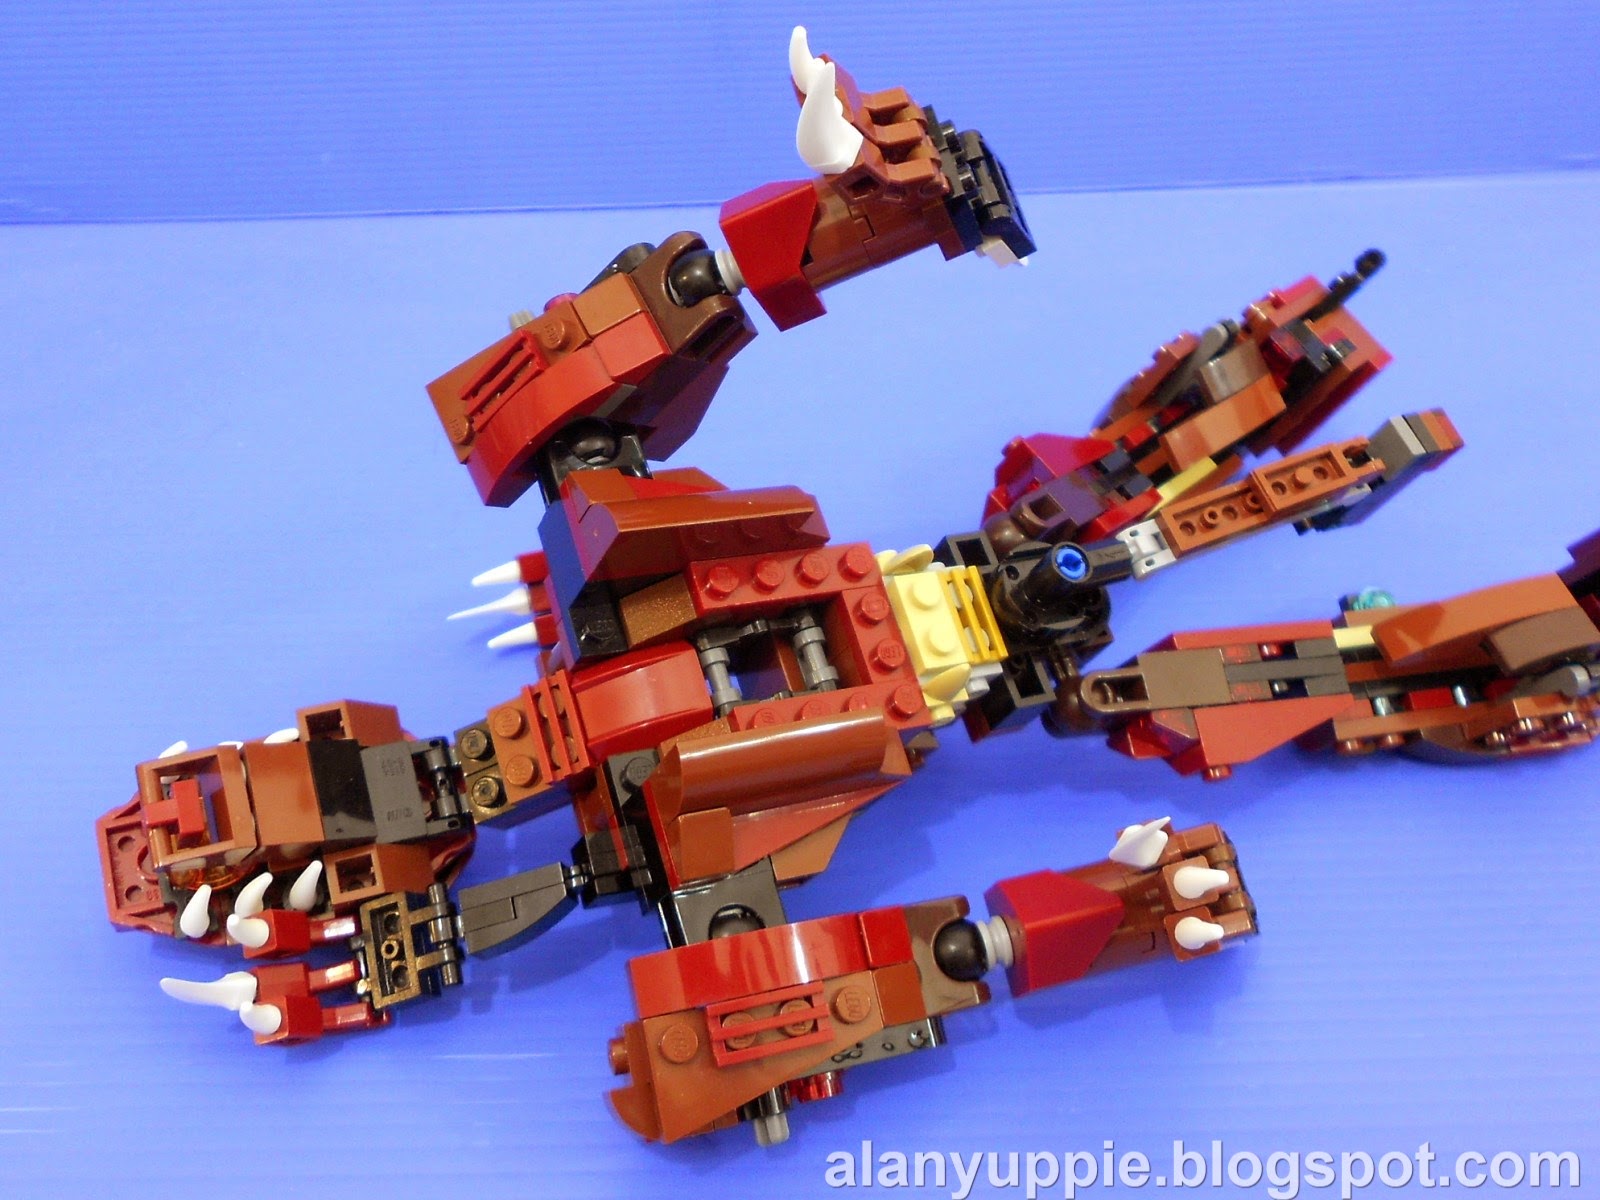
But things aren't that easy for this MOC, when I found out sooner... I need to redesign the raptor legs with the best possible joints to hold his huge frame. This redesign (with balljoints) took me almost a week.
Normally 2x2 studded bricks pegged on top of each other will have weak connections and can easily detach when the MOC is moved about. Above you see I did the same with 2 brown cylindrical bricks (also having 2x2 studs) , and they're very ,very tight! Adjusting the legs to be posed doesn't make them detach easily.
The raptor arms were the final components I built. Without knowing how they will blend in, in robot mode, I'm suprised they turn out to be one of my favorite design techniques in this MOC (besides the raptor head which took me a while to built).
Thanks to the strong ball joints on the limbs and the wide footprints, the pose above is possible and stable. I'm making tradeoffs to favor short yet strong legs rather than long,lean ones found in a typical raptor (which will be weak if implemented here).
Transformation
The transparent blue "nodes" (left arrow) helps to prop the tail in place to prevent it from drooping down. By swivelling out these nodes, the stem-like component connecting to the tail can be folded out.
The stem-like component that the tail detaches from is a necessary design to ensure this MOC is not a partsformers. (this means its not necessary for any component to be removed and reattached somewhere else to facilitate transformation). In this case here, I deliberately detach the tail to show how the weapons are formed. It is still possible to transform with the tail connected all the way (and this tail will end up at the back of the robot mode, facing up)
The tail will becomes the hand held weapon and sword, like the original toy .
Here I stop a while to highlight how I connect the raptor arms. I would wish to connect them lower a bit but that will hinder transformation . I have no choice but to make use of the technic holes already implement to swivel the raptor head to form the chest. This means these technic holes served dual functions. The black-finger-part on the top of the arm saved me again by allowing this to be possible!
As mentioned earlier, the raptor arms suprised me by its ability to be folded and tucked in snugly at the back of the robot mode. See how the claws align themselves upwards! The stem where tail detaches from earlier can be clipped securely onto the back, too!
So now we're ready to move on to part 2 for robot mode. Let's go!


Next I took a good hard look at the toy photo above (and bunch of other screenshots of BW Dinobot) and visualized how my improved version ... idinosaurrobot.blogspot.com
ReplyDeleteThis comment has been removed by a blog administrator.
ReplyDeleteThis comment has been removed by a blog administrator.
ReplyDelete