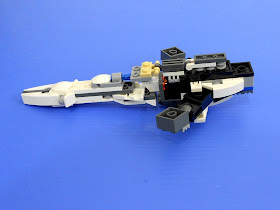
Let's start with the head and jet nosecone shall we?
Torso
Upper Body
Left Leg
Right Leg
Note: since both legs and feet are symmetrical, I just flip the instructions around :)
Left and Right Foot
As mentioned earlier, the right foot instructions are flipped version of the left. However... there is a grey pin part which exist in the left and not needed for the right (this pin helps to connect both feet together in jet mode ).
Putting it all together
I think some of you might need an extra guidance on how to connect each component together for the upper body. Here you go:
As for the rest of the body, do revisit my Thunder Wingster gallery (link below) to assist you in completing the build , and transformation sequence too!
Lastly, I hope my effort here is not in vain. Compiling instructions is hard work, especially when I'm using this trusty ol' 7-year old Toshiba laptop which happened to die on me earlier this morning after 20 minute of usage. Might get a new one soon since I need another powerhouse machine to process and store videos of the MOC I plan to capture =)


I just finished building this guy, and gotta say, the nosecone is too heavy. The moment I try to lift the jet, the nosecone droops off and sag immediately.
ReplyDeleteOh, and you seems to forget to give us instructions for his arms. Is that intentional?